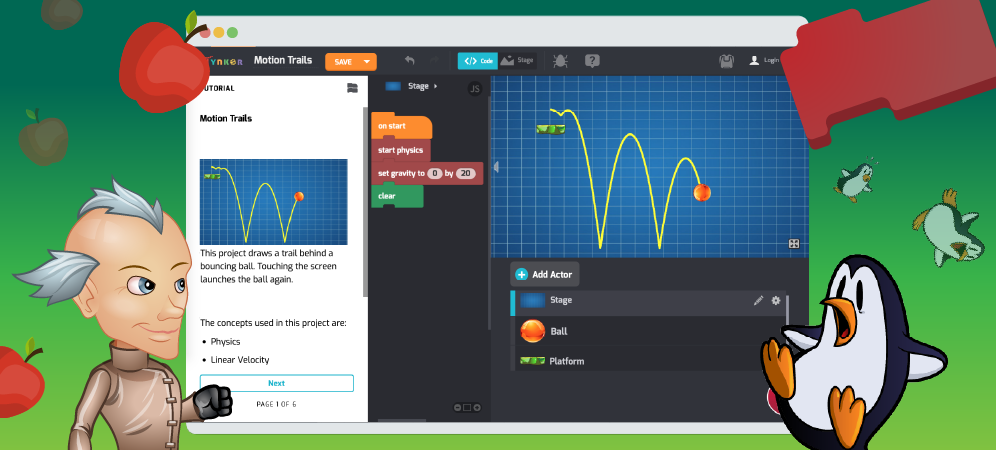
Physics is a world of projectiles flying through the air, spinning wheels, satellites orbiting planets, spectacular collisions, and more. It’s an exciting world of action and motion!
Try playing this Tynker project, which uses the Physics Blocks. Click your mouse to fire a few times, then stop the project and keep reading.
Put another way, physics is the study of motion, energy, forces, and matter. When you study physics, you start by learning how objects move and interact with one another.
This world of so-called classical mechanics has many names. It’s also called Newtonian motion, named after Isaac Newton, who famously defined predictable laws of physics. Click the red apple to see a physics animation. (You can write stories with the physics blocks, too!)
Because physics is predictable, it’s perfect for simulating with computers and code. Physics is also easier to understand when you can see things move: By its nature, physics is dynamic and visual, making it perfect for programming projects.
Tynker’s Physics Blocks make creating physics simulations easy. You don’t need to be a scientist to be interested in learning about physics, either. Think of how many games you play that use physics: Angry Birds, Peggle, Geometry Dash, and Super Mario, to name a few.
To use the Physics Blocks in your Tynker projects, you have to enable them first. You’ve got two options.
Option #1: Drag any Physics block in your code, and the extension will automatically be enabled! Search for a physics command like start physics and use it in your code.
Option #2: You can also click More at the bottom of the coding palette, then choose Physics and Add to enable the Physics Blocks.
Table of Contents
First, Invent the Universe
So begins Carl Sagan’s famous apple pie recipe. Let’s take a look at how to start physics and create gravity in Tynker. Add a ball actor to your project (Add Actor > Media Library), then give your ball this code:
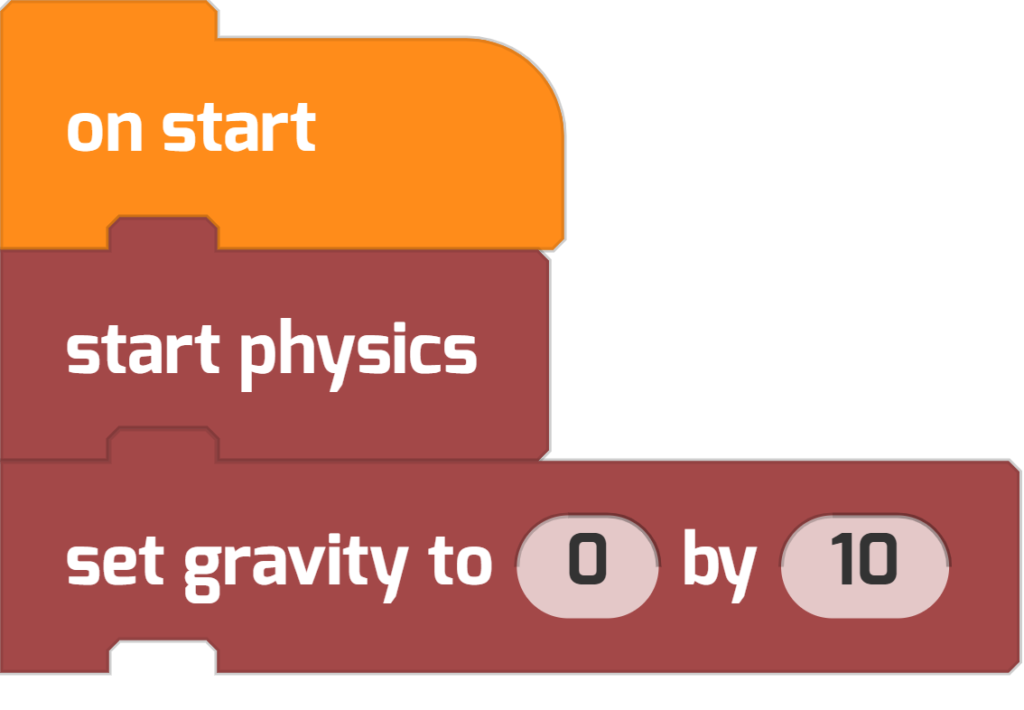
You only need to use the start physics block once in your project, and physics will be enabled for all actors.
Notice how the set gravity block has two parameters, one for the x direction (left-to-right), and another for the y direction (up-and-down). The code snippet above gives gravity of 10 in the y direction, meaning objects will accelerate straight downward. Like the start physics block, set gravity affects all actors.
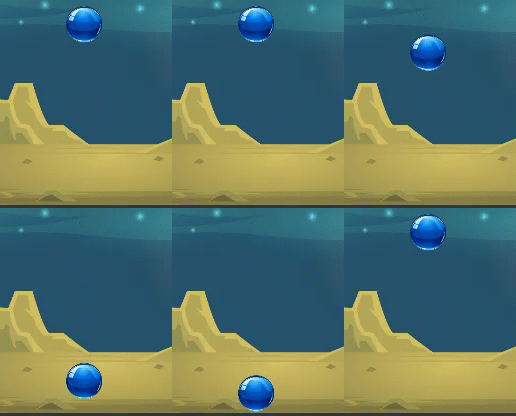
When you play your project, you should see your ball fall to the ground. Cool! Try changing gravity in your project and watch what happens.
Physics Properties: Active, Static, and Shape
Let’s look at some other Physics actor settings. Try adding some new actors to your project (Add Actor > Media Library) and try these code blocks yourself.
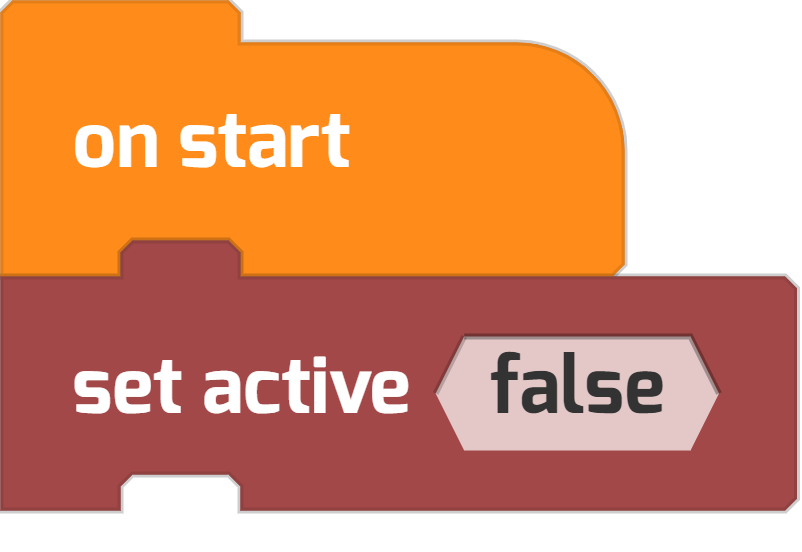
Active. An active actor is one that will collide with others and will be affected by gravity. By setting active to false, actors won’t interact at all—they’ll be artwork in the background of your project. In short, inactive actors don’t interact with physics actors.
Here’s the code for an inactive character:
Static. By using the set static true block, you can make an actor stay fixed in place (that is, unaffected by gravity). The actor can still collide with other physics actors, but it won’t move.
When can you use this setting? For example, if you want a platform to stack items on or want to build the walls of a maze. That is, you want the object to be static (fixed in place), but also active (interact with other physics objects). You can make this happen with a script like this:
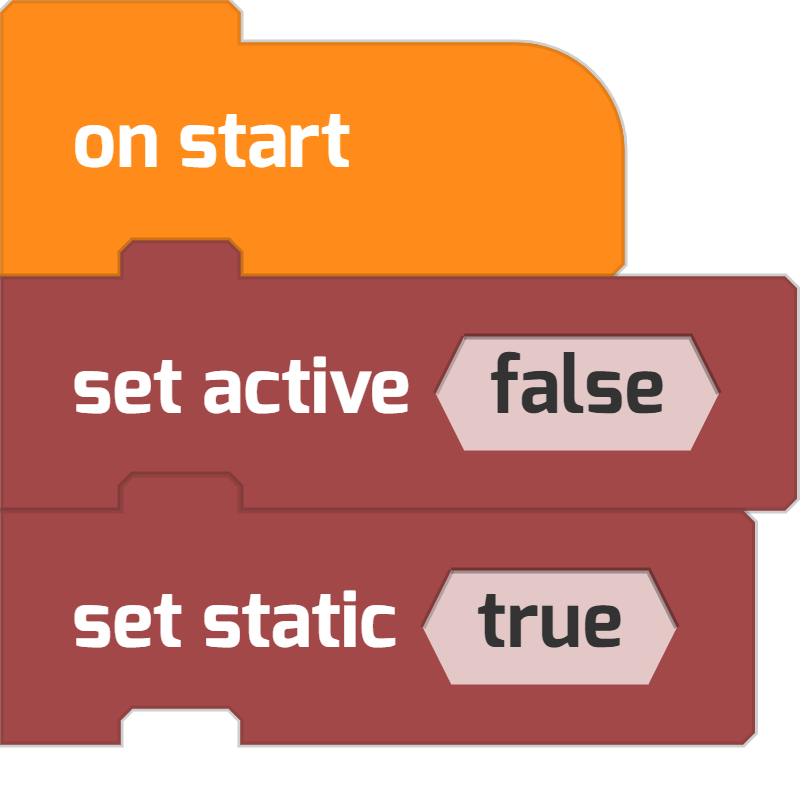
Shape. You can also use these blocks to make Tynker treat an actor like a ball or a box, using the set set shape command:


Try adding some bricks or blocks or other objects to your project and experiment with these blocks yourself.
Let’s Learn About Physics Stuff, Already!
Let’s get into the nitty gritty of physics, too. Here are some important terms to understand.
Linear Velocity
This is the speed of an object in a particular direction. You’ll often hear it described simply as velocity. You can think of it as the distance traveled per unit of time. For example, velocity is commonly measured in miles per hour (mph) or meters per second (m/s).

You can give actors a velocity using these blocks.


The first block gives the actor a velocity in whatever direction it’s currently pointing. The second block gives an actor an absolute velocity, in the x and y directions (that is, in terms of its component x and y values).
Here’s an example of how you could use the set linear velocity block. Recall that cannon you fired at the beginning of the article? Here’s the code for the cannonball:
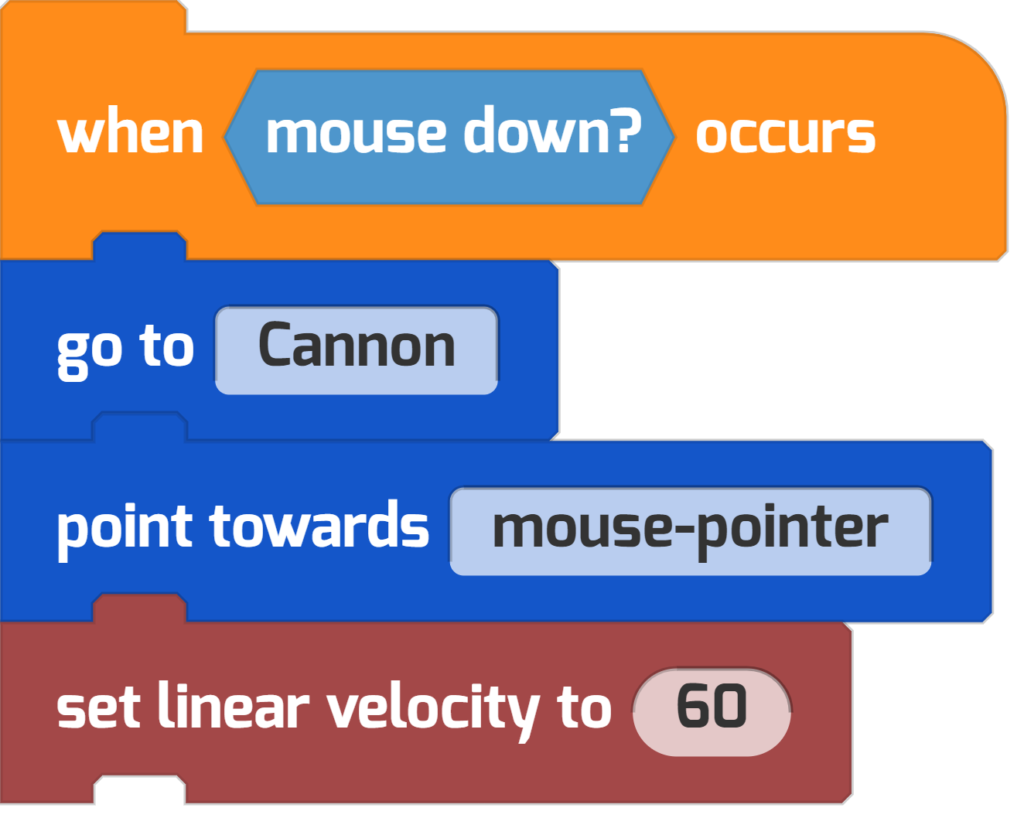
If an object has no velocity, it’s said to be at rest. You can check whether an object is at rest using the is awake? block.

This block returns true or false, depending on whether the actor is moving or not.
Objects in motion tend to stay in motion. That is, if an object is moving, it will stay in motion at that same velocity unless acted upon by an outside force: such as friction, air resistance, gravity, or a collision with another object.
Gravity
Gravity is the force of acceleration between two objects with mass. For example, the Sun and Earth, or a golfball on Earth. In Tynker, you simulate gravity with the set gravity block, which you’ve already used. Gravity gives objects weight.
Acceleration
Acceleration is a measurement of change in velocity. Forces give objects an acceleration. The acceleration that gravity on Earth gives us is 9.8 meters / second squared.
In other words, when you drop a ball, that ball gains velocity 9.8 meters per second, every second!
- After the first second of freefall, a dropped ball’s velocity will be 9.8 meters per second.
- After the second second of freefall, the same ball’s ball’s velocity will be 18.6 meters per second, and so on.

BTW. In real life, a falling ball’s acceleration eventually stops, as air resistance pushes the ball upwards, countering the force of gravity, until the ball reaches its so-called terminal velocity.
Impulse
Impulse is best understood as force given over a certain period of time. In Tynker, you can think of it as a one-time “push.” To give an actor impulse, use the apply impulse blocks. Instead of giving a constant acceleration, impulse gives a single spurt of acceleration.
You can apply impulse in three different ways: in the direction the object is currently facing; using x and y components; or using magnitude and direction.
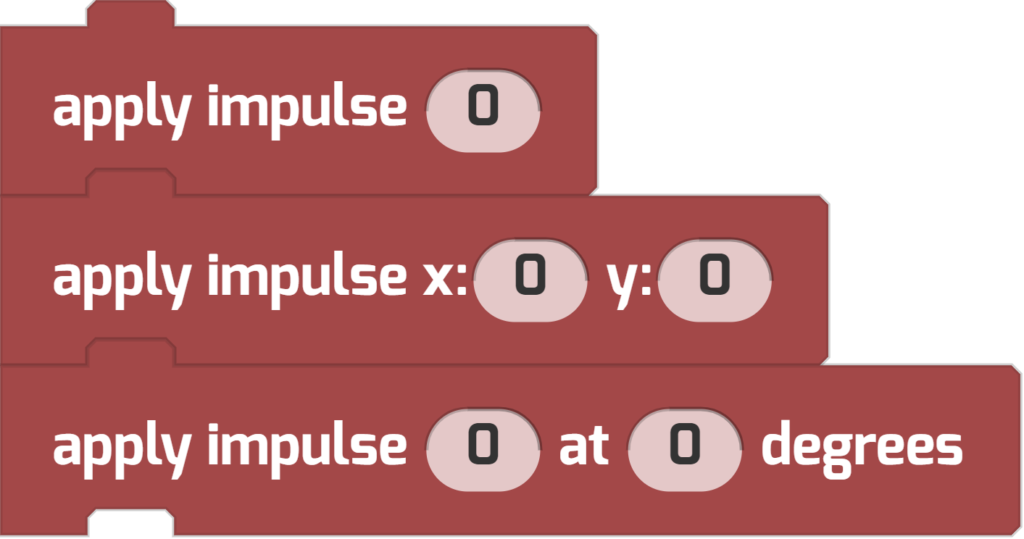
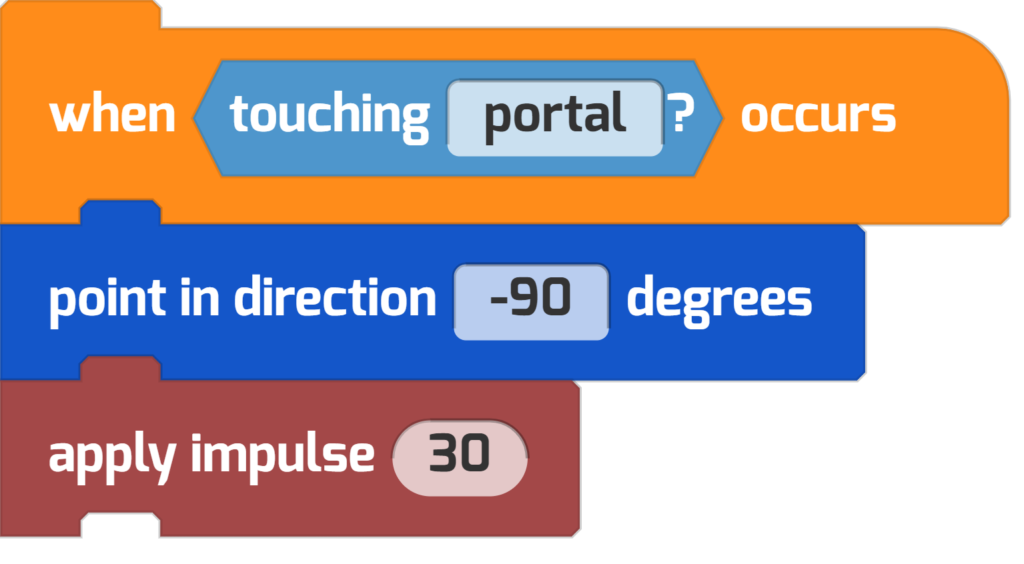
Want to see impulse in action? Here are a couple examples of how you might give objects an impulse.
When this actor touches the portal actor, it gets an impulse to the left.
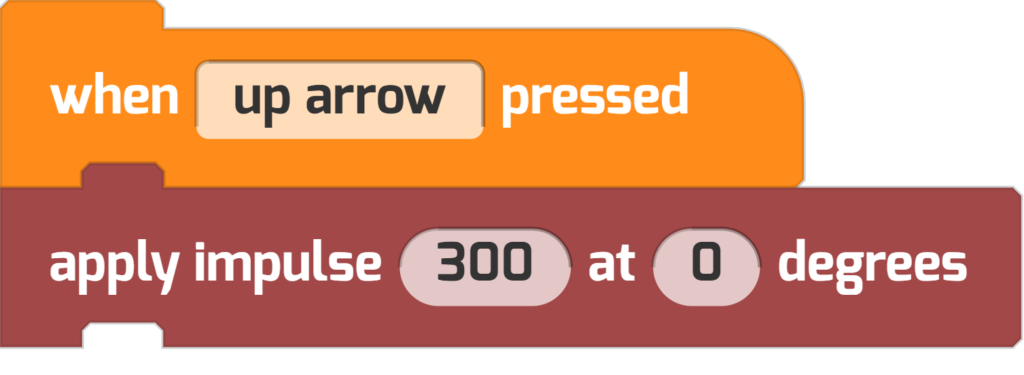
Pressing the up arrow causes this actor to jump upwards.
Controlling Collisions
A collision is when two actors strike one another. Collisions can be elastic (when no energy is lost and objects rebound at the same speed), or inelastic (when energy is lost and objects lose speed after a collision).
We can control the elasticity of collisions in Tynker by changing the actor’s restitution. Watch these two simulations. The first group of penguins has a high restitution (1) and the second group has a low restitution (0).

(Restitution = 1)

(Restitution = 0)
Restitution is the measurement of an actor’s bounciness. It’s typically a value between 0 and 1. This measurement is best understood as the coefficient of restitution, which describes the ratio between the objects’ velocities before and after the collision.
In Tynker, you can break the laws of nature in your physics simulation! Watch what happens when you give objects a restitution over 1. This group of penguins has a restitution of 2, and things quickly get out of hand!
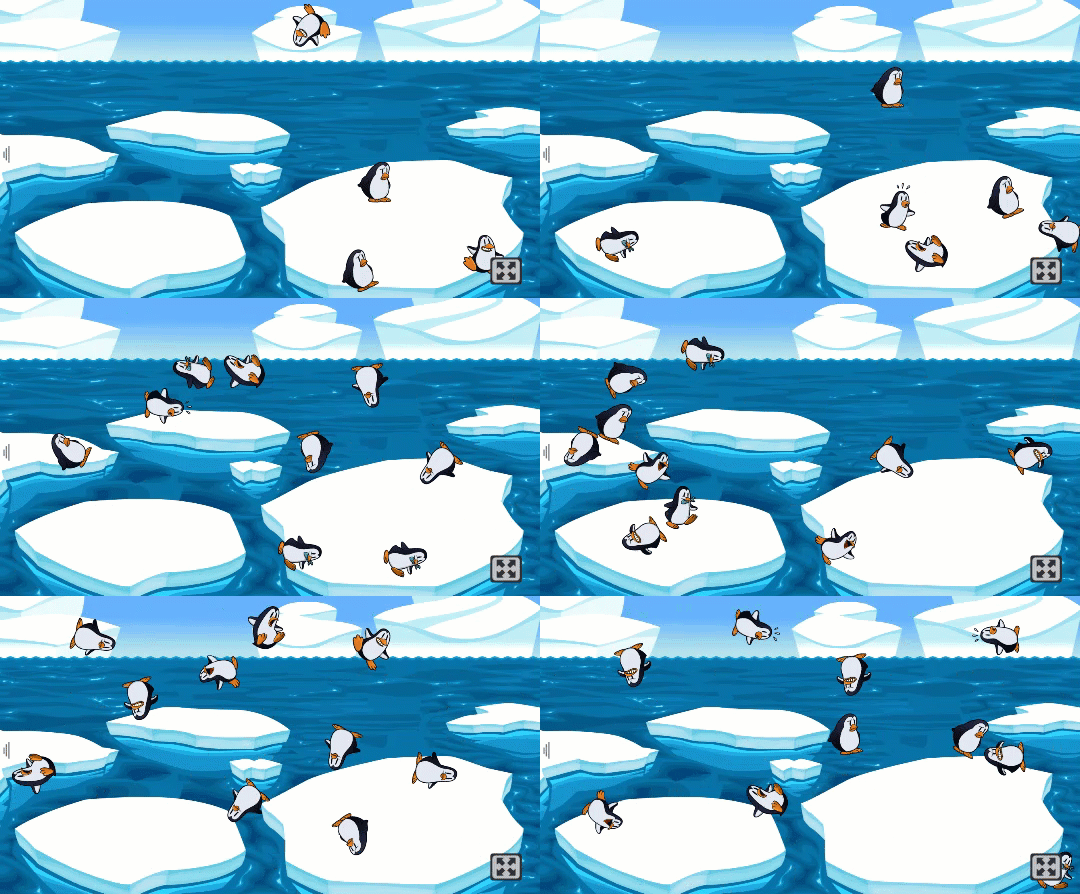
(Restitution = 2)
With each collision, the actors speed up. (This isn’t possible in the real world.)
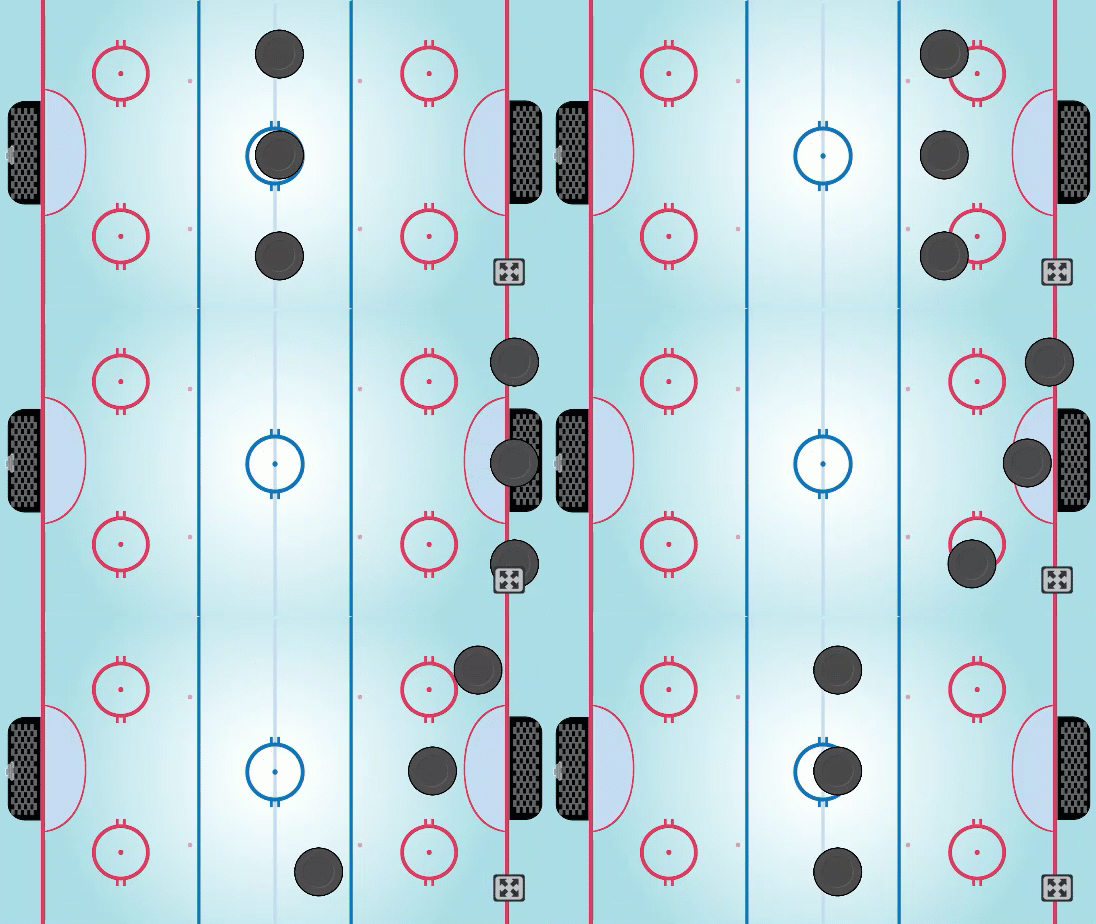
Bouncing Pucks
Consider another example of the same principle. Each puck has the same starting impulse, but their restitution is different, so they behave differently after a collision:
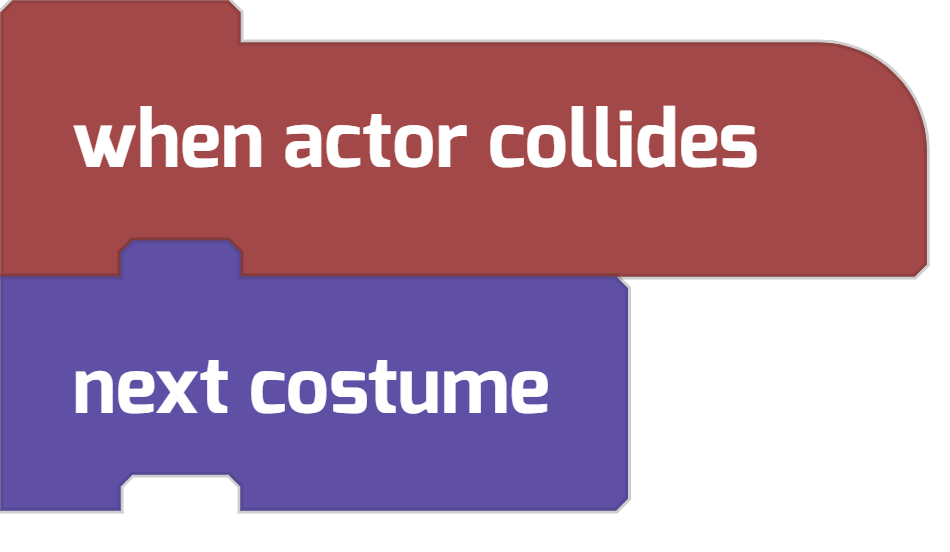
You can even use physics collisions as events. Did you notice how the penguins changed costumes each time they collided? Here’s the code that did it:
Experiment!
Want some ideas for your own Physics projects? Check out +Create Project > Physics to see more Physics starter projects.
Find the category that looks like this!
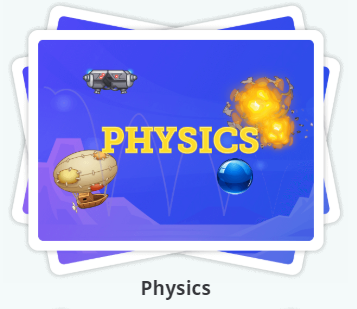
But there’s way more in the Physics blocks than we’ve covered here. Try exploring the other Physics blocks on your own.
Did you know that real life physicists used Python code to detect gravitational waves, just a few years ago? You can read about it here. Take a look at Tynker’s course on Python here. Scientists are using computer code all the time.
Make something cool with the Physics Blocks? You can share it with us at community@tynker.com and we’ll show it off on the next edition of Tynker Toolbox.
More Free Activities
Looking for more activities? Check out these Tynker Toolbox articles!
- Tynker Workshop Basics — Learn about coordinates and start coding with Tynker.
- The Animation Tool — Learn about frame-based animation and other animation tips.
- The Character Creator — Take control of custom rigs using the Animation blocks.
- Text Tricks — Work with speech bubbles and more. Tell your own stories, put on a play, or make a computer write poetry!
- The Sound Blocks — Play music with code! Add custom sound effects, too. Tynker’s brand new music tool supports MIDI and MP3.
- The Synth Blocks — Create your own sound effects and instruments! You can create crunchy dubstep drops, glitchy chiptunes, or instruments from any style of music you can imagine!
- Code Block Tricks — Get top-secret ninja tips for writing code fast in Tynker Workshop.
- The Pen Blocks — Make your actors draw as they move. Create patterns, draw geometric shapes, and more.
- The Physics Blocks — Create games or simulations with gravity, collisions, and more. Think: Angry Birds and Marble Madness.
- The Augmented Reality (AR) Blocks — Want to use video or photos in your programs? Try the AR Blocks, which let you code your own selfie!
- The Artificial Intelligence (AI) Blocks — Take your AR projects to the next level with face-, hand-, and pose-tracking. Explore what makes AI special.
- The Debugger — Learn about Tynker’s data debugger and get bug-fixing tips.
- The Tutorial Builder — Did you ever make a really cool Tynker Block project and wish you could teach the whole world exactly how you did it? Now you can!
- The Python Editor — Looking for a challenge? Ready for your next step on your coding journey? Learn Python with Tynker too, and take the plunge into text-based coding.


