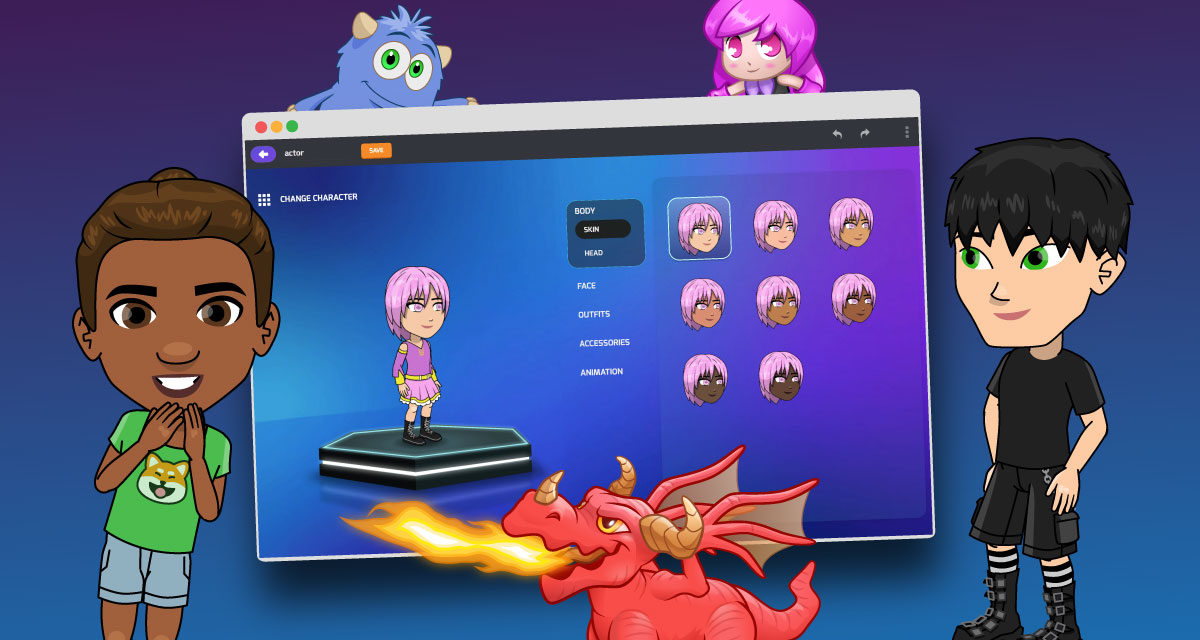
If you’ve been coding with Tynker for a while now, you might have noticed that Tynker has several kinds of actors. Some actors like Codey or the Dragons are created using the Character Builder.
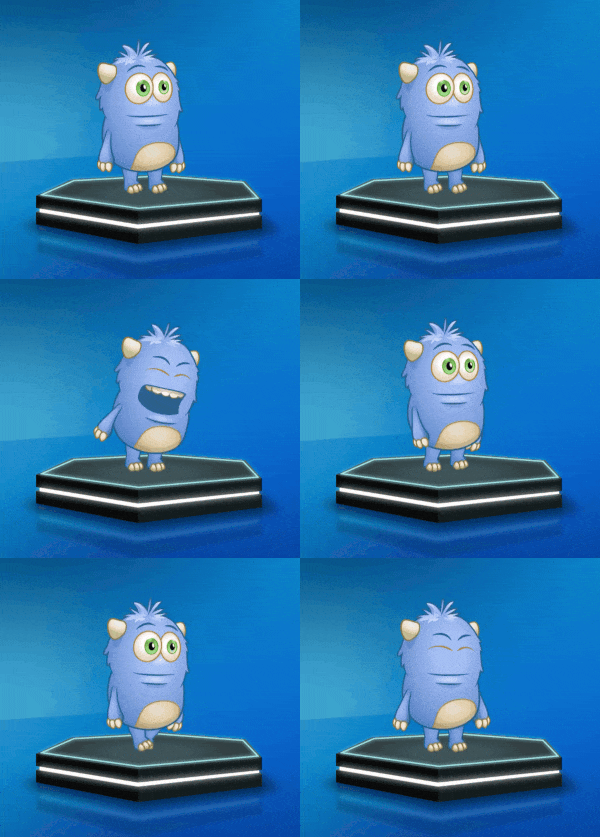
You can think of these Character Builder-created actors as rigs that can use common animations, for example: Throw, Run, or Jump. Rigs are in groups, according to their size and their animation abilities and perspectives.
Teens are large, customizable rigs that have 2D animations perfect for platformer games and stories. You can change their faces, outfits, and skin tones to your exact liking! These are brand-new!
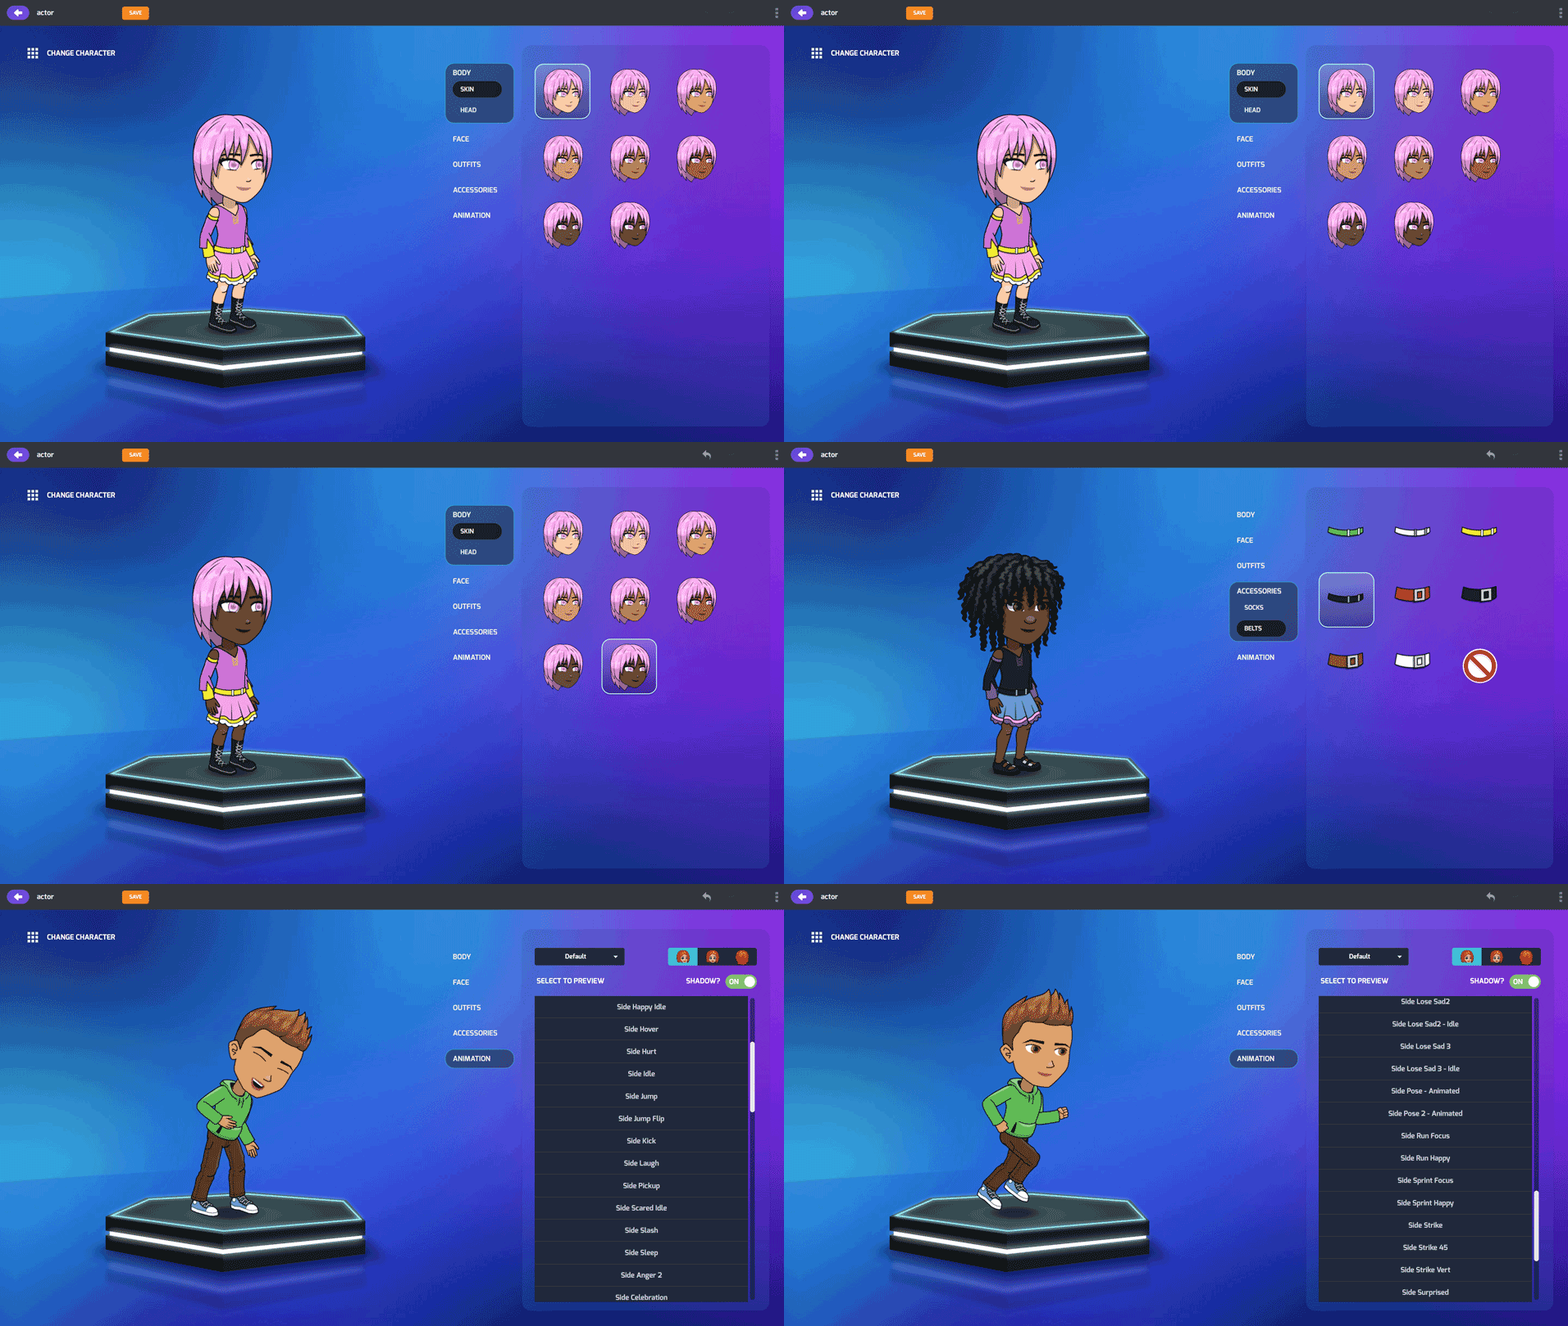
Kids are smaller rigs that have animations in four directions, side-to-side and front-to-back. This makes Kids great for “top down” games as well as platformers. They have a HUGE number of available animations in various perspectives, including cool Sports Moves.
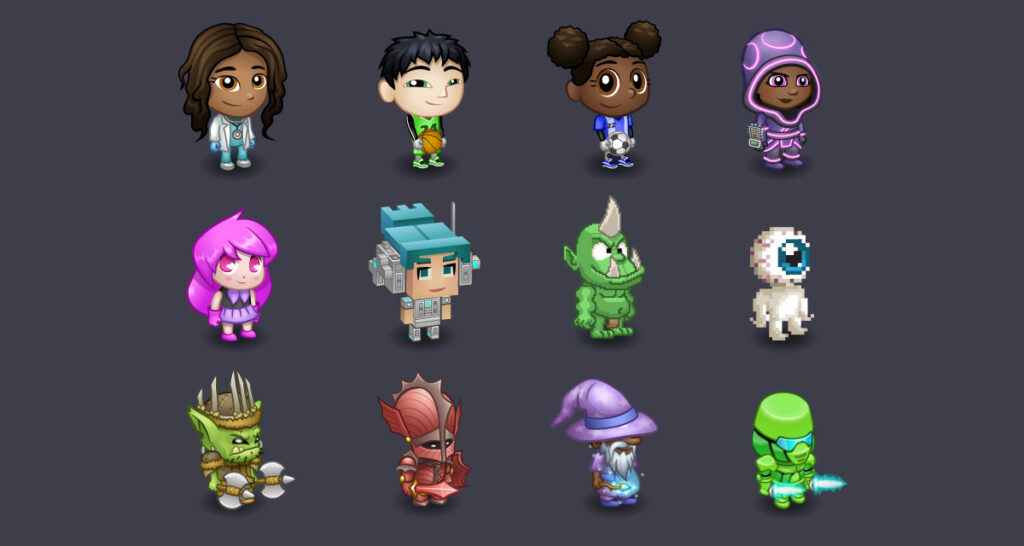
Monsters are little gremlins and trolls in the same style as Codey. They have a smaller number of animations like Walk, Jump, and Sleep, and they are only 2D.
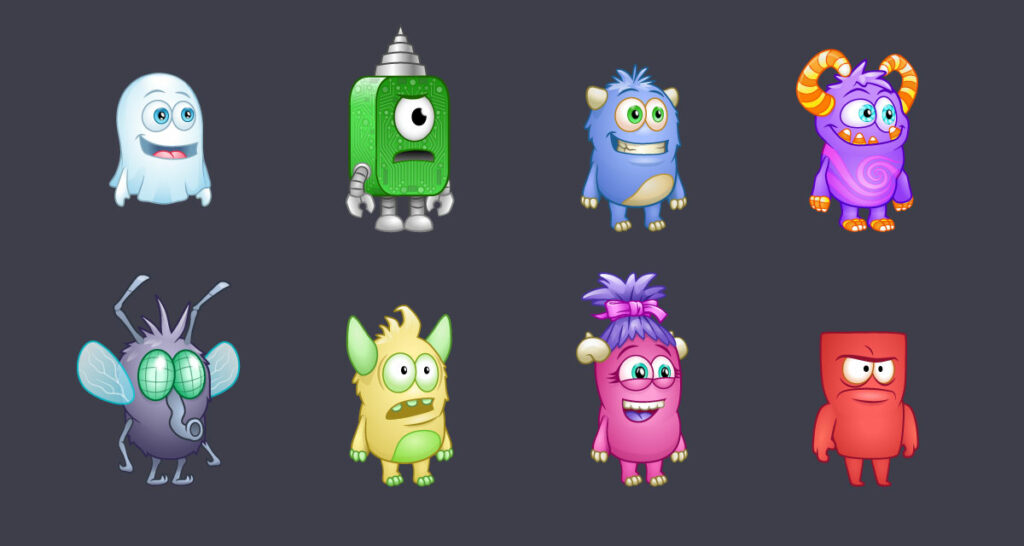
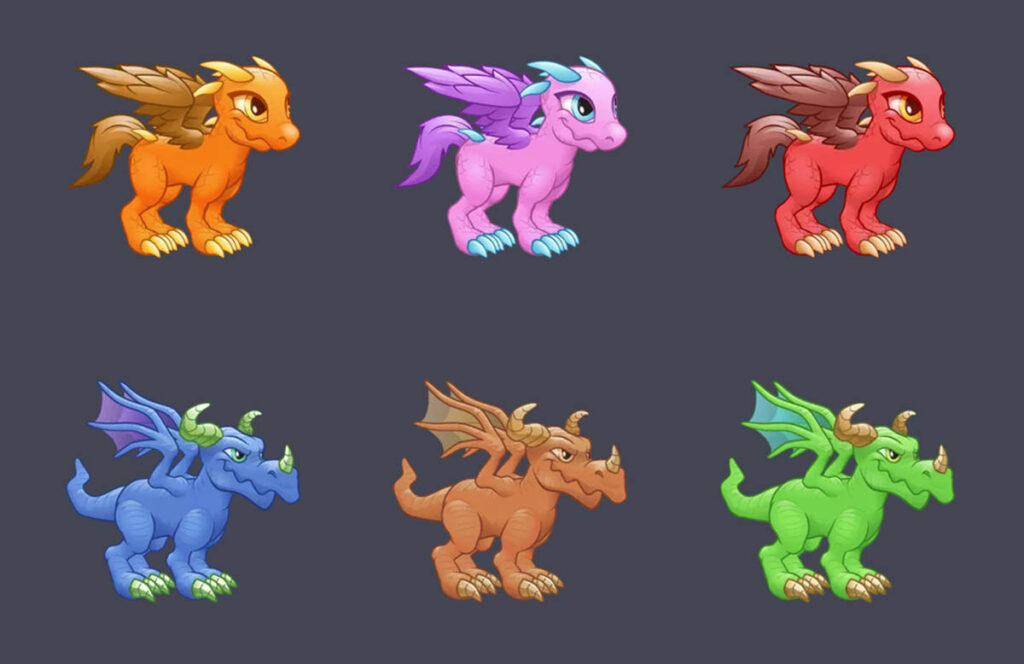
You’ll also see Rovers and even Dragons rigs, which you can explore on your own.
BTW. Actors that aren’t created with the Character Builder use costumes for their animations, which means their costumes are simple static images. You can use the next costume blocks to animate these actors.
Table of Contents
Make A Custom Teen
Let’s go ahead and create a character you’ll be able to animate! Create a new Tynker project (Login > Projects > Create New Project > Create Blank Project).
Go to Add Actor and choose Character Builder. You’ll see a big list of characters to start with in the Teen category. Choose one of these! After making your pick, you’ll see a character creator screen appear. With this tool, you can change your character’s hair, what they’re wearing, and more!
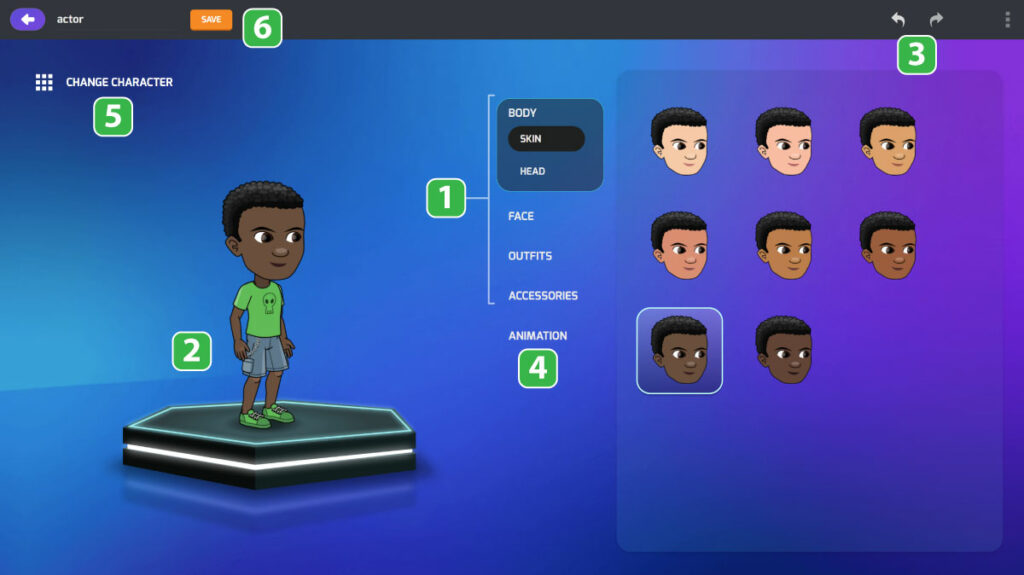
❶ Part Selector. Choose which body part to change, then try out some new options. Customize your character’s skin-tone, outfit, and more!
❷ Your Character. You’ll see the changes show up here, right away.
❸ Undo and Redo. Don’t like your change? Undo or redo your most recent actions.
❹ Preview Animation. Click here, then choose one of the actions, and your character will perform it.
❺ Change Character. Switch the base model or reset your current model to its default.
❻ Rename and Save. Once you’re happy with how your character looks, give your character a custom name, then click Save. Click the ← arrow in the upper right and get back to coding!
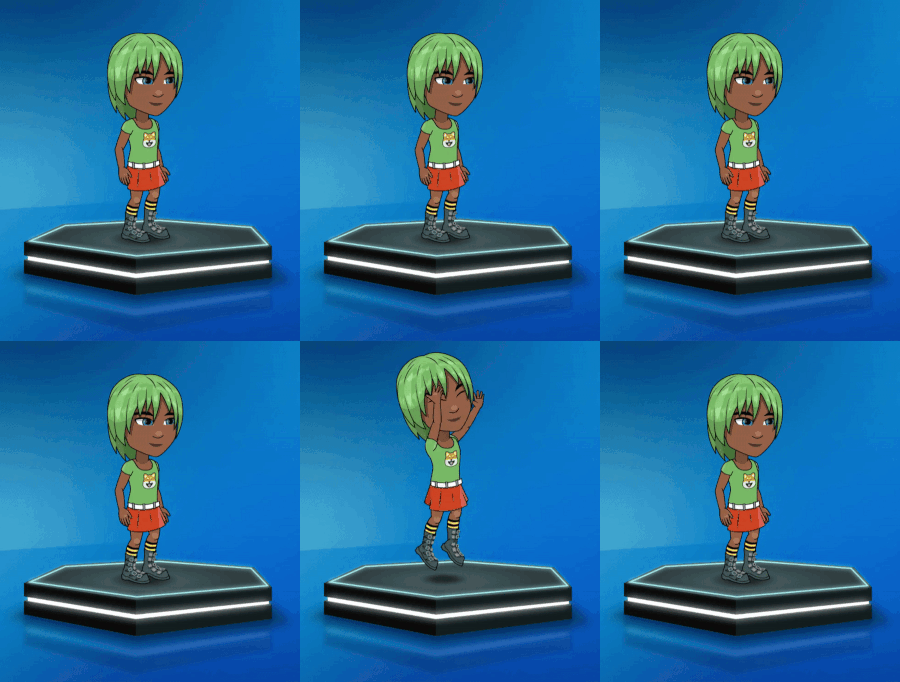
Here’s a preview of the Kick and the Jump animation. Try out some moves on your own!
Project #1: Animation Board
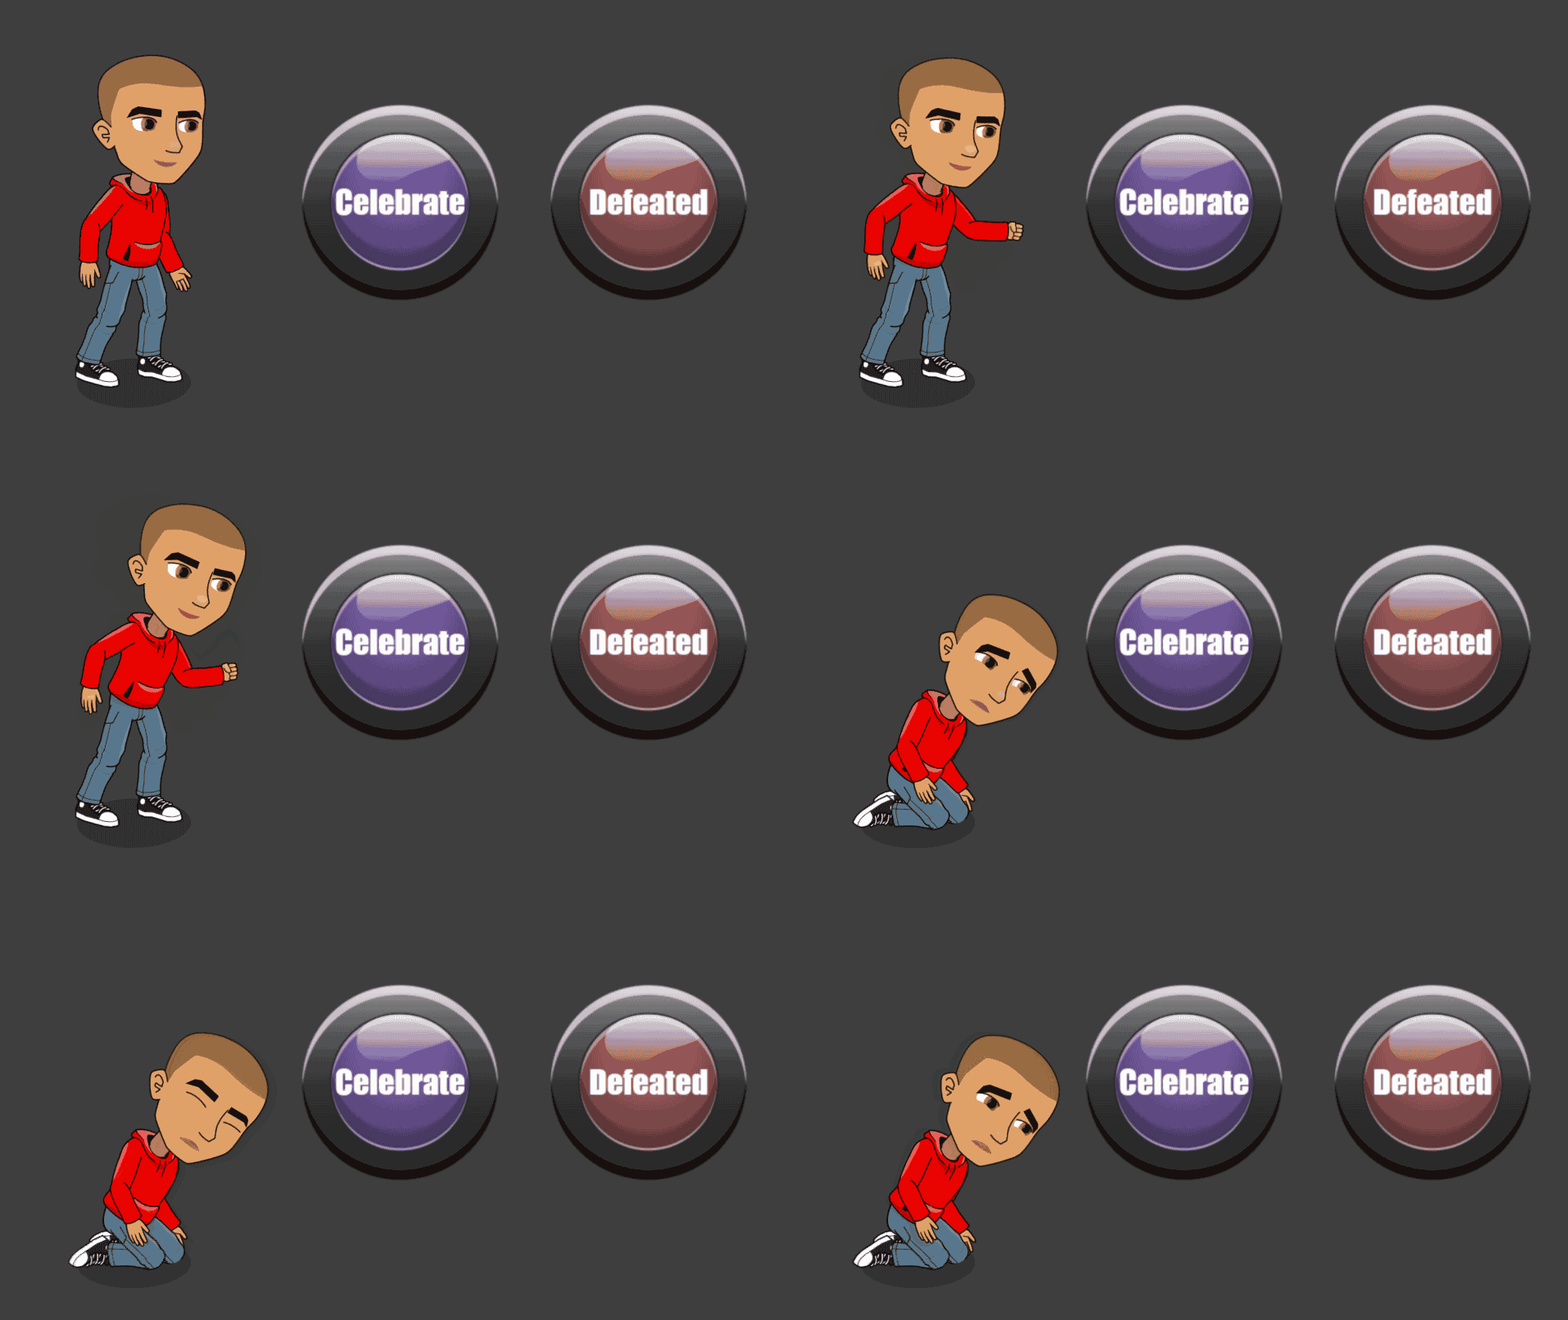
You can control rigs with code. Let’s code buttons that will make your new custom actor perform different animations. Here’s how your project might look:
Code The Buttons
Add a button like the Red Button to your project (Add Actor > Media Library), then give it a name in the Actor List like “Jump,” “Dance,” or “Throw”—whatever animation you want your character to perform.
We’ll give two scripts for the button. First, we’ll set a label for the button. Notice how the label becomes the actor’s name using the my actor name block!
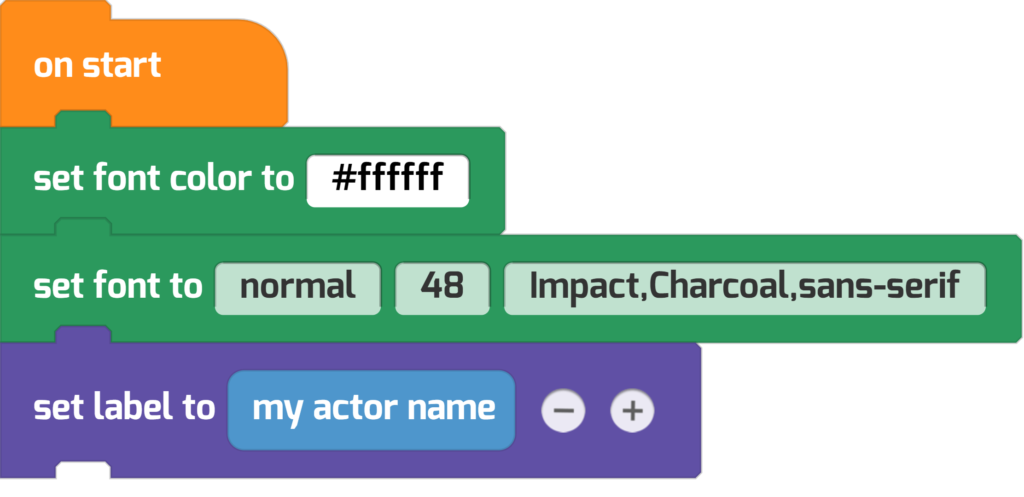
Then, when the button is clicked, it will switch costumes and broadcast the Celebrate message. The wait block makes sure that we can see the button’s costumes switching. We’ll make your character respond to this message shortly.
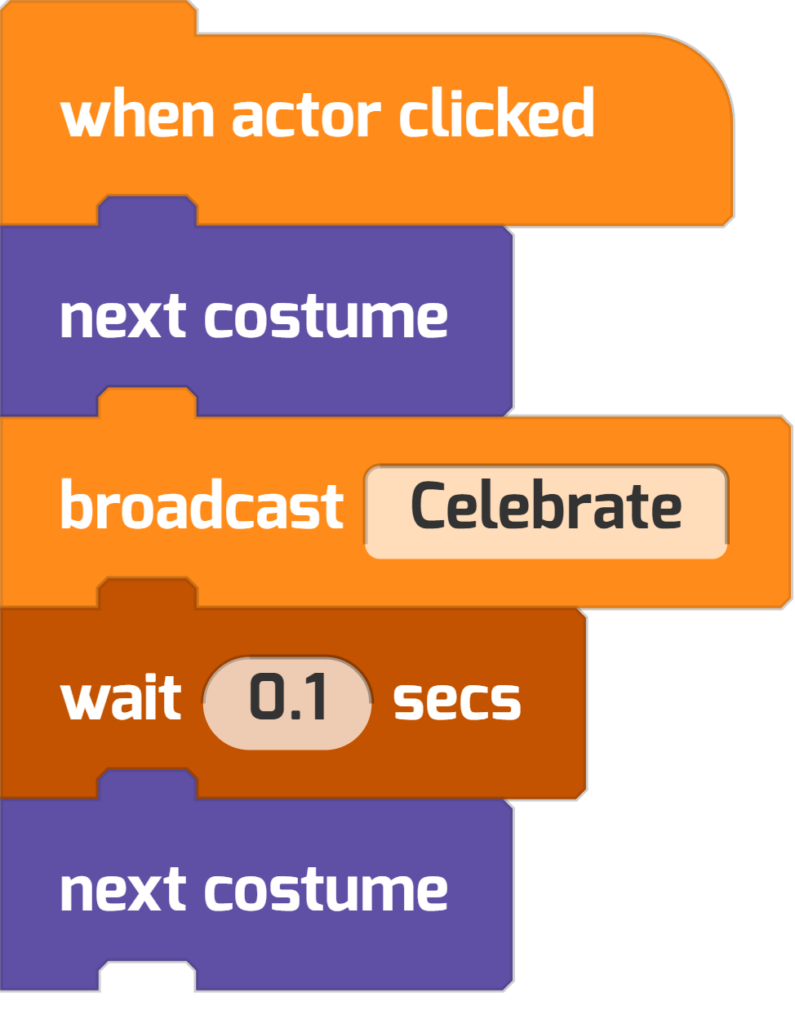
Add another button actor, and have it broadcast a different message—like “Defeated.” You can save time coding this by duplicating your first button actor in the Actor List (Click on the ⋮ and then choose Duplicate. You can also drag-and-drop code into another actor, using the Actor List.)
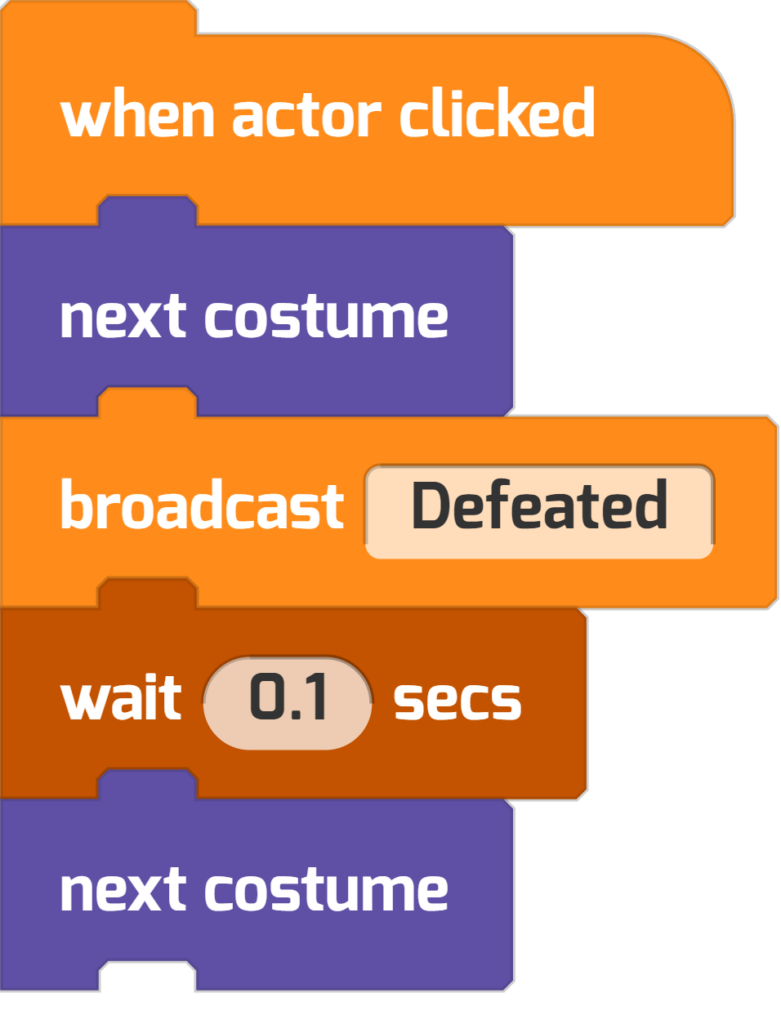
Code The Rig
Then go back to your custom Teen character and give them this code. First, have your character start with an Idle animation.
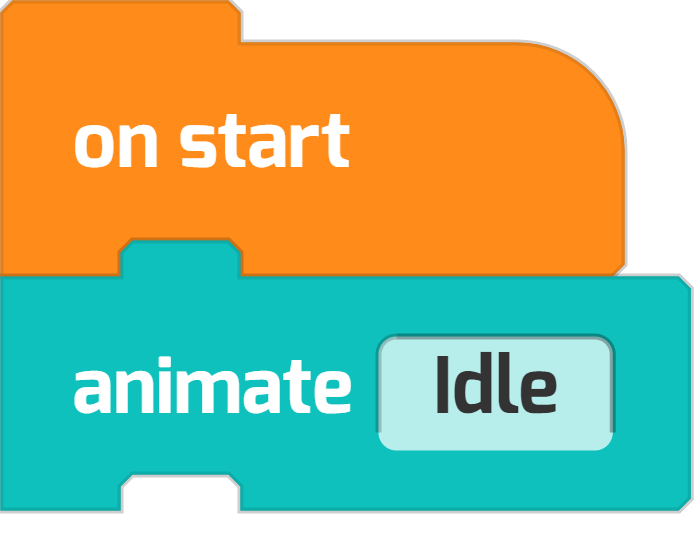
Then make the rig respond to your buttons’ broadcasts. I wanted my character to perform the Celebration animation three times, but you can change things up so it repeats as much as you want:
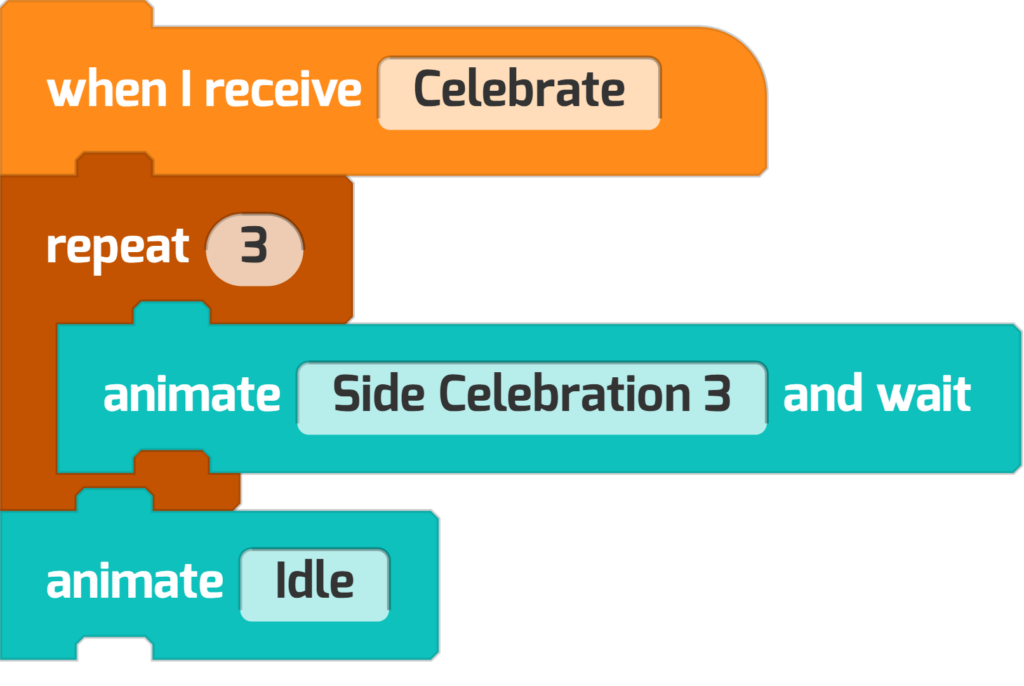
Here’s the code that creates the Defeated animation sequence:
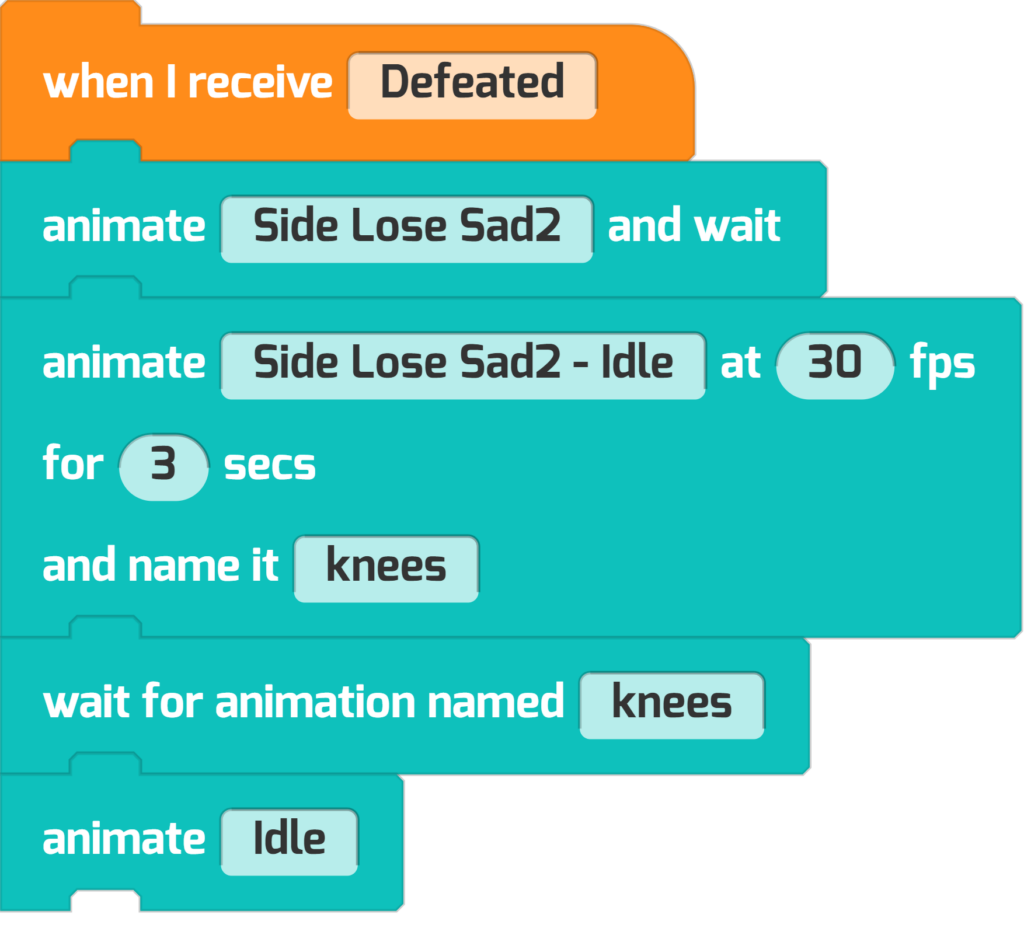
Notice how both the Celebration and the Defeated animation sequences end with an Idle animation, which returns the character to normal. Play your project, then press your on-Stage buttons to make sure everything is working as you expected. Try duplicating the button and create new messages to control your character’s animations.
Make a button that does more than a single animation—a whole dance routine or a combat sequence!
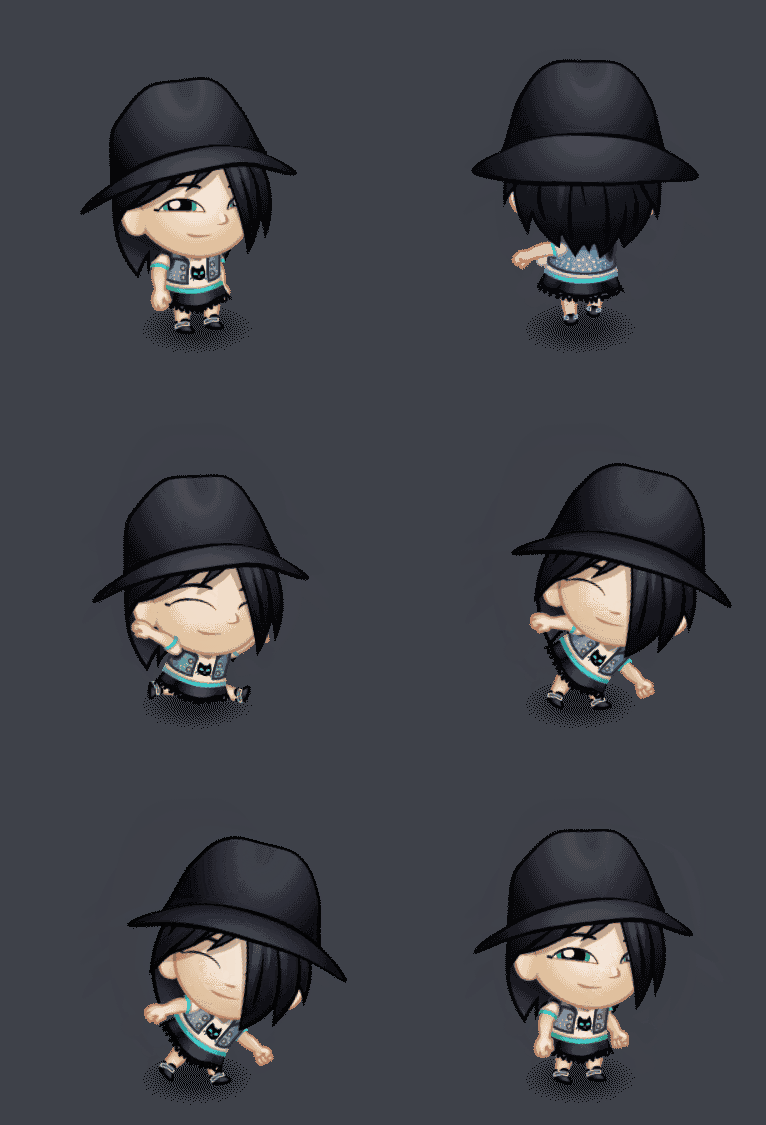
To Wait or Not?
Did you notice that there are two animation code blocks in this project? One is animate, the other is animate and wait. What’s the difference? The animate and wait block won’t run additional blocks until the animation sequence finishes! In contrast, the regular animate block can be interrupted.
For animations in your game or story that you want to be interrupted (for example, like idling, walking, or running), you can use the animate block. For animations that you know need to finish (for example, actions like dancing, dying, throwing) use the animate and wait block instead. Experiment to find out what’s right for your project!
Project #2: Make ’em Flip
You can also create custom animations, give them a name, and use them in projects. This is a custom animation for a flip.
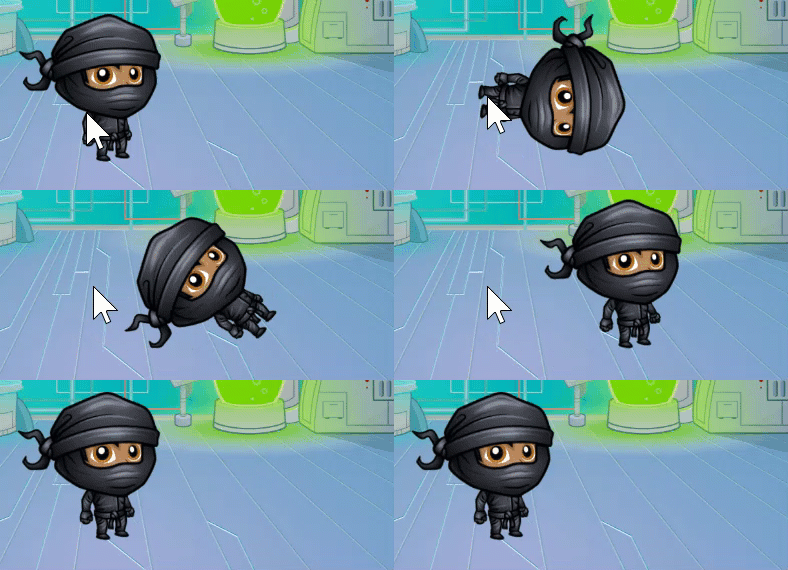
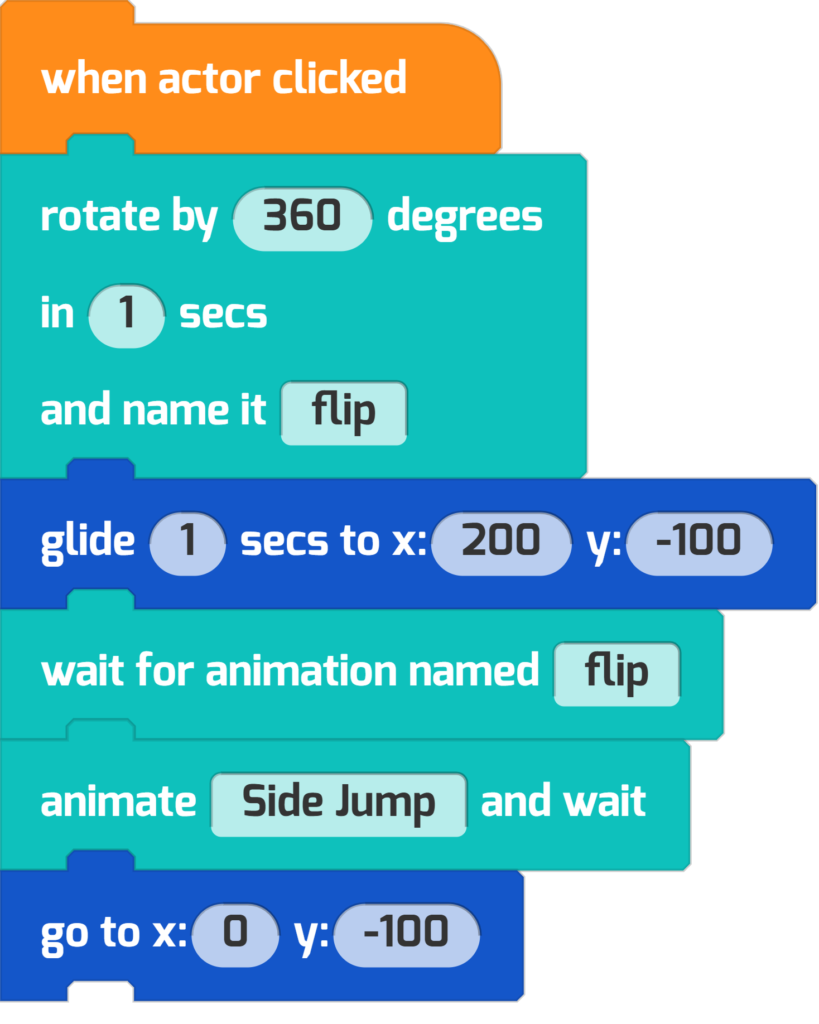
Let’s code it! Notice how we use the wait for animation named flip to finish before performing another animation. Give this code a try:
Project #3: Gigantify Your Rig
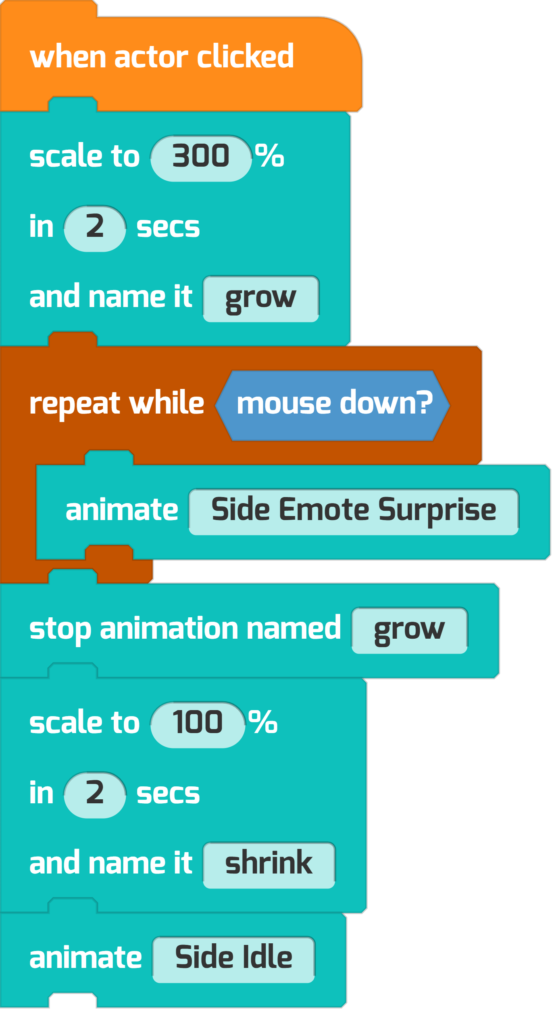
Here’s another custom animation. Imagine you had a story or a game where a character drinks a potion and gets much bigger. You would want the actor to grow over time, then revert to normal.
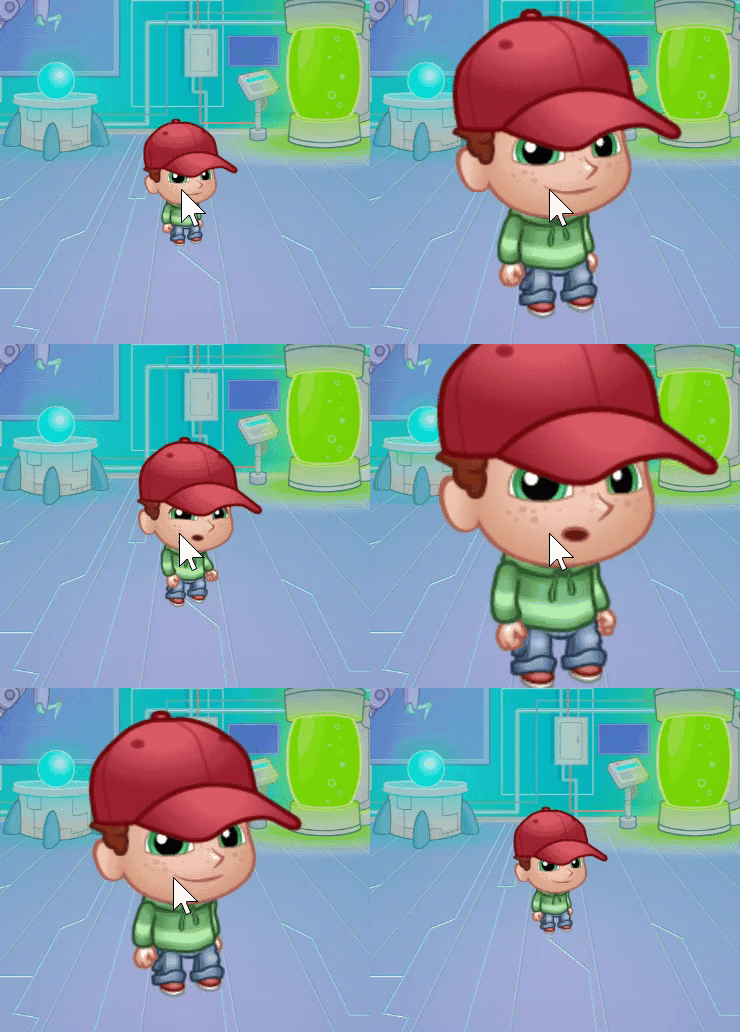
Here’s how you could code it, using a mouse click as a trigger. In this code, you can see there are two custom animations, grow and shrink.
Project #4: Goblin Goes Sproing
Now let’s try another way of making a growing effect with the scale block, this time with a fun “bouncy” effect. Here’s how things look:
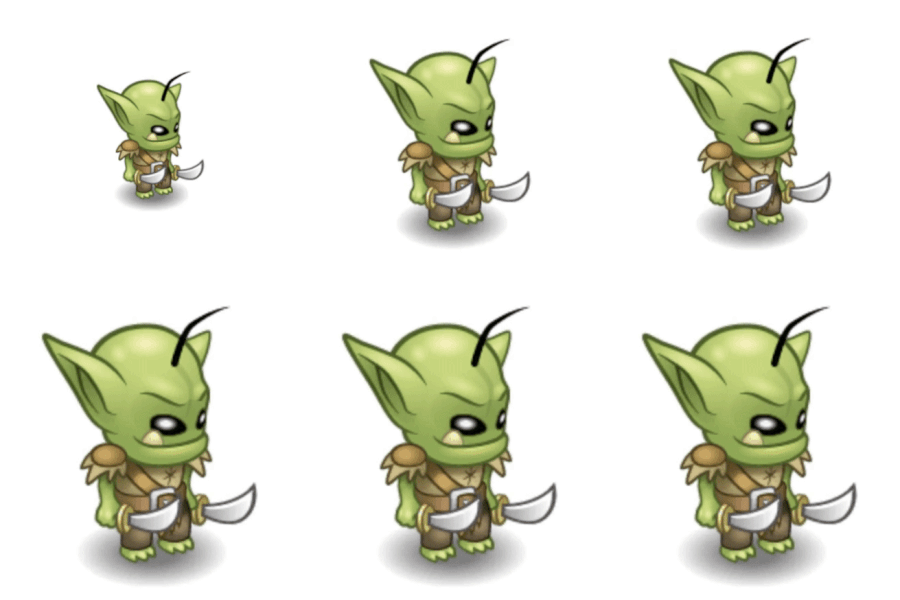
This effect can work for any actor. But how do you get that springy, “elastic” effect? With the set easing block! Try a short program like this one:
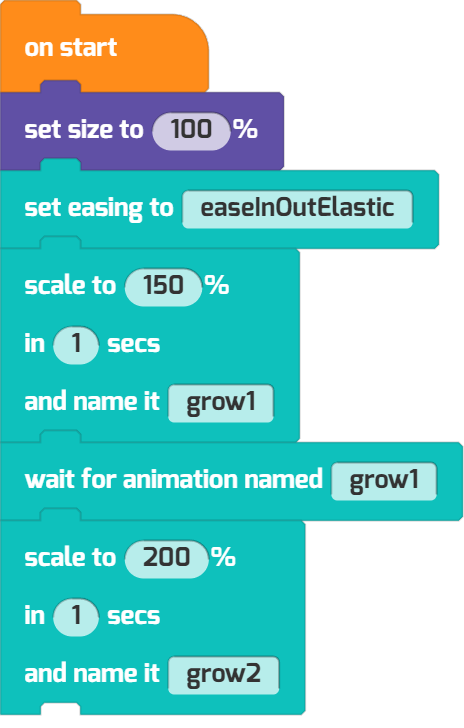
In animation, easing helps objects move in a way that looks natural. Without easing, an object might start and stop suddenly. With easing, the object can start moving slowly, speed up, and then slow down again. Experiment with the different easing modes to see different animation effects!
Do Some Animations Yourself!
Want some ideas for your own Character Builder Tynker projects? Here are a few:
- Add two characters to a program and make them have a conversation. You could create a story or tell a joke.
- Try making your own custom animation block.
- How can you use the set part block in your story or joke?
Did you make a custom character do something cool with code? Or invent something neat with the Character Builder? Tell us at community@tynker.com.
Looking for more coding activities? Check out our Course Catalog.
And read the rest of our free tutorials in the Tynker Toolbox series:
- Tynker Workshop Basics — Learn about coordinates and start coding with Tynker.
- The Animation Tool — Learn about frame-based animation and other animation tips.
- Text Tricks — Work with speech bubbles and more. Tell your own stories, put on a play, or make a computer write poetry!
- The Sound Blocks — Play music with code! Add custom sound effects, too. Tynker’s brand new music tool supports MIDI and MP3.
- The Synth Blocks — Create your own sound effects and instruments! You can create crunchy dubstep drops, glitchy chiptunes, or instruments from any style of music you can imagine!
- Code Block Tricks — Get top-secret ninja tips for writing code fast in Tynker Workshop.
- The Pen Blocks — Make your actors draw as they move. Create patterns, draw geometric shapes, and more.
- The Physics Blocks — Create games or simulations with gravity, collisions, and more. Think: Angry Birds and Marble Madness.
- The Augmented Reality (AR) Blocks — Want to use video or photos in your programs? Try the AR Blocks, which let you code your own selfie!
- The Artificial Intelligence (AI) Blocks — Take your AR projects to the next level with face-, hand-, and pose-tracking. Explore what makes AI special.
- The Debugger — Learn about Tynker’s data debugger and get bug-fixing tips.
- The Tutorial Builder — Did you ever make a really cool Tynker Block project and wish you could teach the whole world exactly how you did it? Now you can!
- The Python Editor — Looking for a challenge? Ready for your next step on your coding journey? Learn Python with Tynker too, and take the plunge into text-based coding.


